Black bean, vegetarian fajitas packed with veggies. Easily made gluten free using corn tortillas. Cooks up in under 30 minutes!

Last week I shared a method for cooking your own dry beans. It takes a while, but the effort is minimal. Once the beans are cooked they are as effortless to use as canned beans. I generally store mine in Ziploc bags in the freezer. Just thaw and use! If you store cooked beans in the refrigerator then there’s one less step (just remember that your beans will last longer in the freezer, so use them up before they go bad if you store them in the fridge!). With no prep required, beans make an excellent last minute meal!
Which is exactly how these fajitas started. I had meat in the house, but none that wasn’t frozen. There was a bunch of random stuff in the refrigerator, which I’m sure everyone reading this who is also a human being understands. Why is it that despite my best intentions, there are always odds and ends left in the refrigerator? I do my best to combat it. I look in the refrigerator and freezer before making a meal plan or grocery list. I open it when going to eat a snack. I try to utilize everything in there, but inevitably, there are still odds and ends.

So, I gathered all my odds and ends from the refrigerator and prepared them while I sauteed some onions and black beans. The bean and onion mixture seemed bland so I added some lime juice and fajita seasoning. I used one of my new found favorite spices, Penzey’s Fajita Seasoning. I only found and had the chance to visit my first Penzey’s a few months ago and I am already a convert. Their spices make all my food taste amazing! What I love is that there is so much flavor in their spice blends. I can use less to get a great taste, and many don’t even have salt in them (although, I do love the 4S Smoky Salt). Of course, there are other fajita seasonings on the market, so just sub in whatever variety you can find and/or enjoy. In a pinch, taco seasoning will work!

Even though there is some dicing and chopping required, this is easily a 30 minute dinner. A healthy 30 minute dinner, at that! To make things even quicker you could use frozen or canned corn – also a great option for when you don’t want to grill in the winter! If you totally love cooking, there’s a variation for you, too! Try making your own tortillas. When I want something quick and convenient I use store bought corn tortillas, but there’s nothing quite like Mexican food with homemade tortillas. There’s a link in the recipe below with directions on how to make your own tortilla.

Save this recipe, and next time you’re in a pinch and need a quick, healthy, dinner, give these fajitas a try! I know that to some of you no gluten and no meat may sound like a drag, but I bet by the end of the meal you won’t be missing either!
Mashed Black Bean Fajitas with Grilled Corn, Avocado, and Cabbage
Ingredients- 2 tsp olive oil (or any oil that you regularly use)
- 1 small onion, diced
- 1 can rinsed and drained, or 2 c cooked black beans
- 2 tsp fajita seasoning (I use Penzey’s)
- 1 1/2 Tbs lime juice (or juice from 1 lime)
- 1 ear corn
- 1/2 c diced red cabbage
- 1/2 avocado, cut into bite sized pieces
- 1/4 c shredded cheddar cheese
- 10 corn tortillas (here’s a recipe to make your own corn tortillas)
- Preheat the grill. Husk the corn, and lay it on the grill in direct heat. Turn it every 2 to 3 minutes, until charred on all sides.
- Heat the olive oil in a large skillet over medium heat.
- When the oil is warm, add the onions. Stir frequently, until the onions are softened.
- Stir in the beans.
- Add the lime juice and fajita seasoning. Stir to combine. Using a fork, gently mash the beans.
- Serve hot with the cabbage, avocado, and cheese. If using store bought corn tortillas, microwave a small stack (3 – 5) of tortillas for about 30 seconds to soften them.
Serve this with
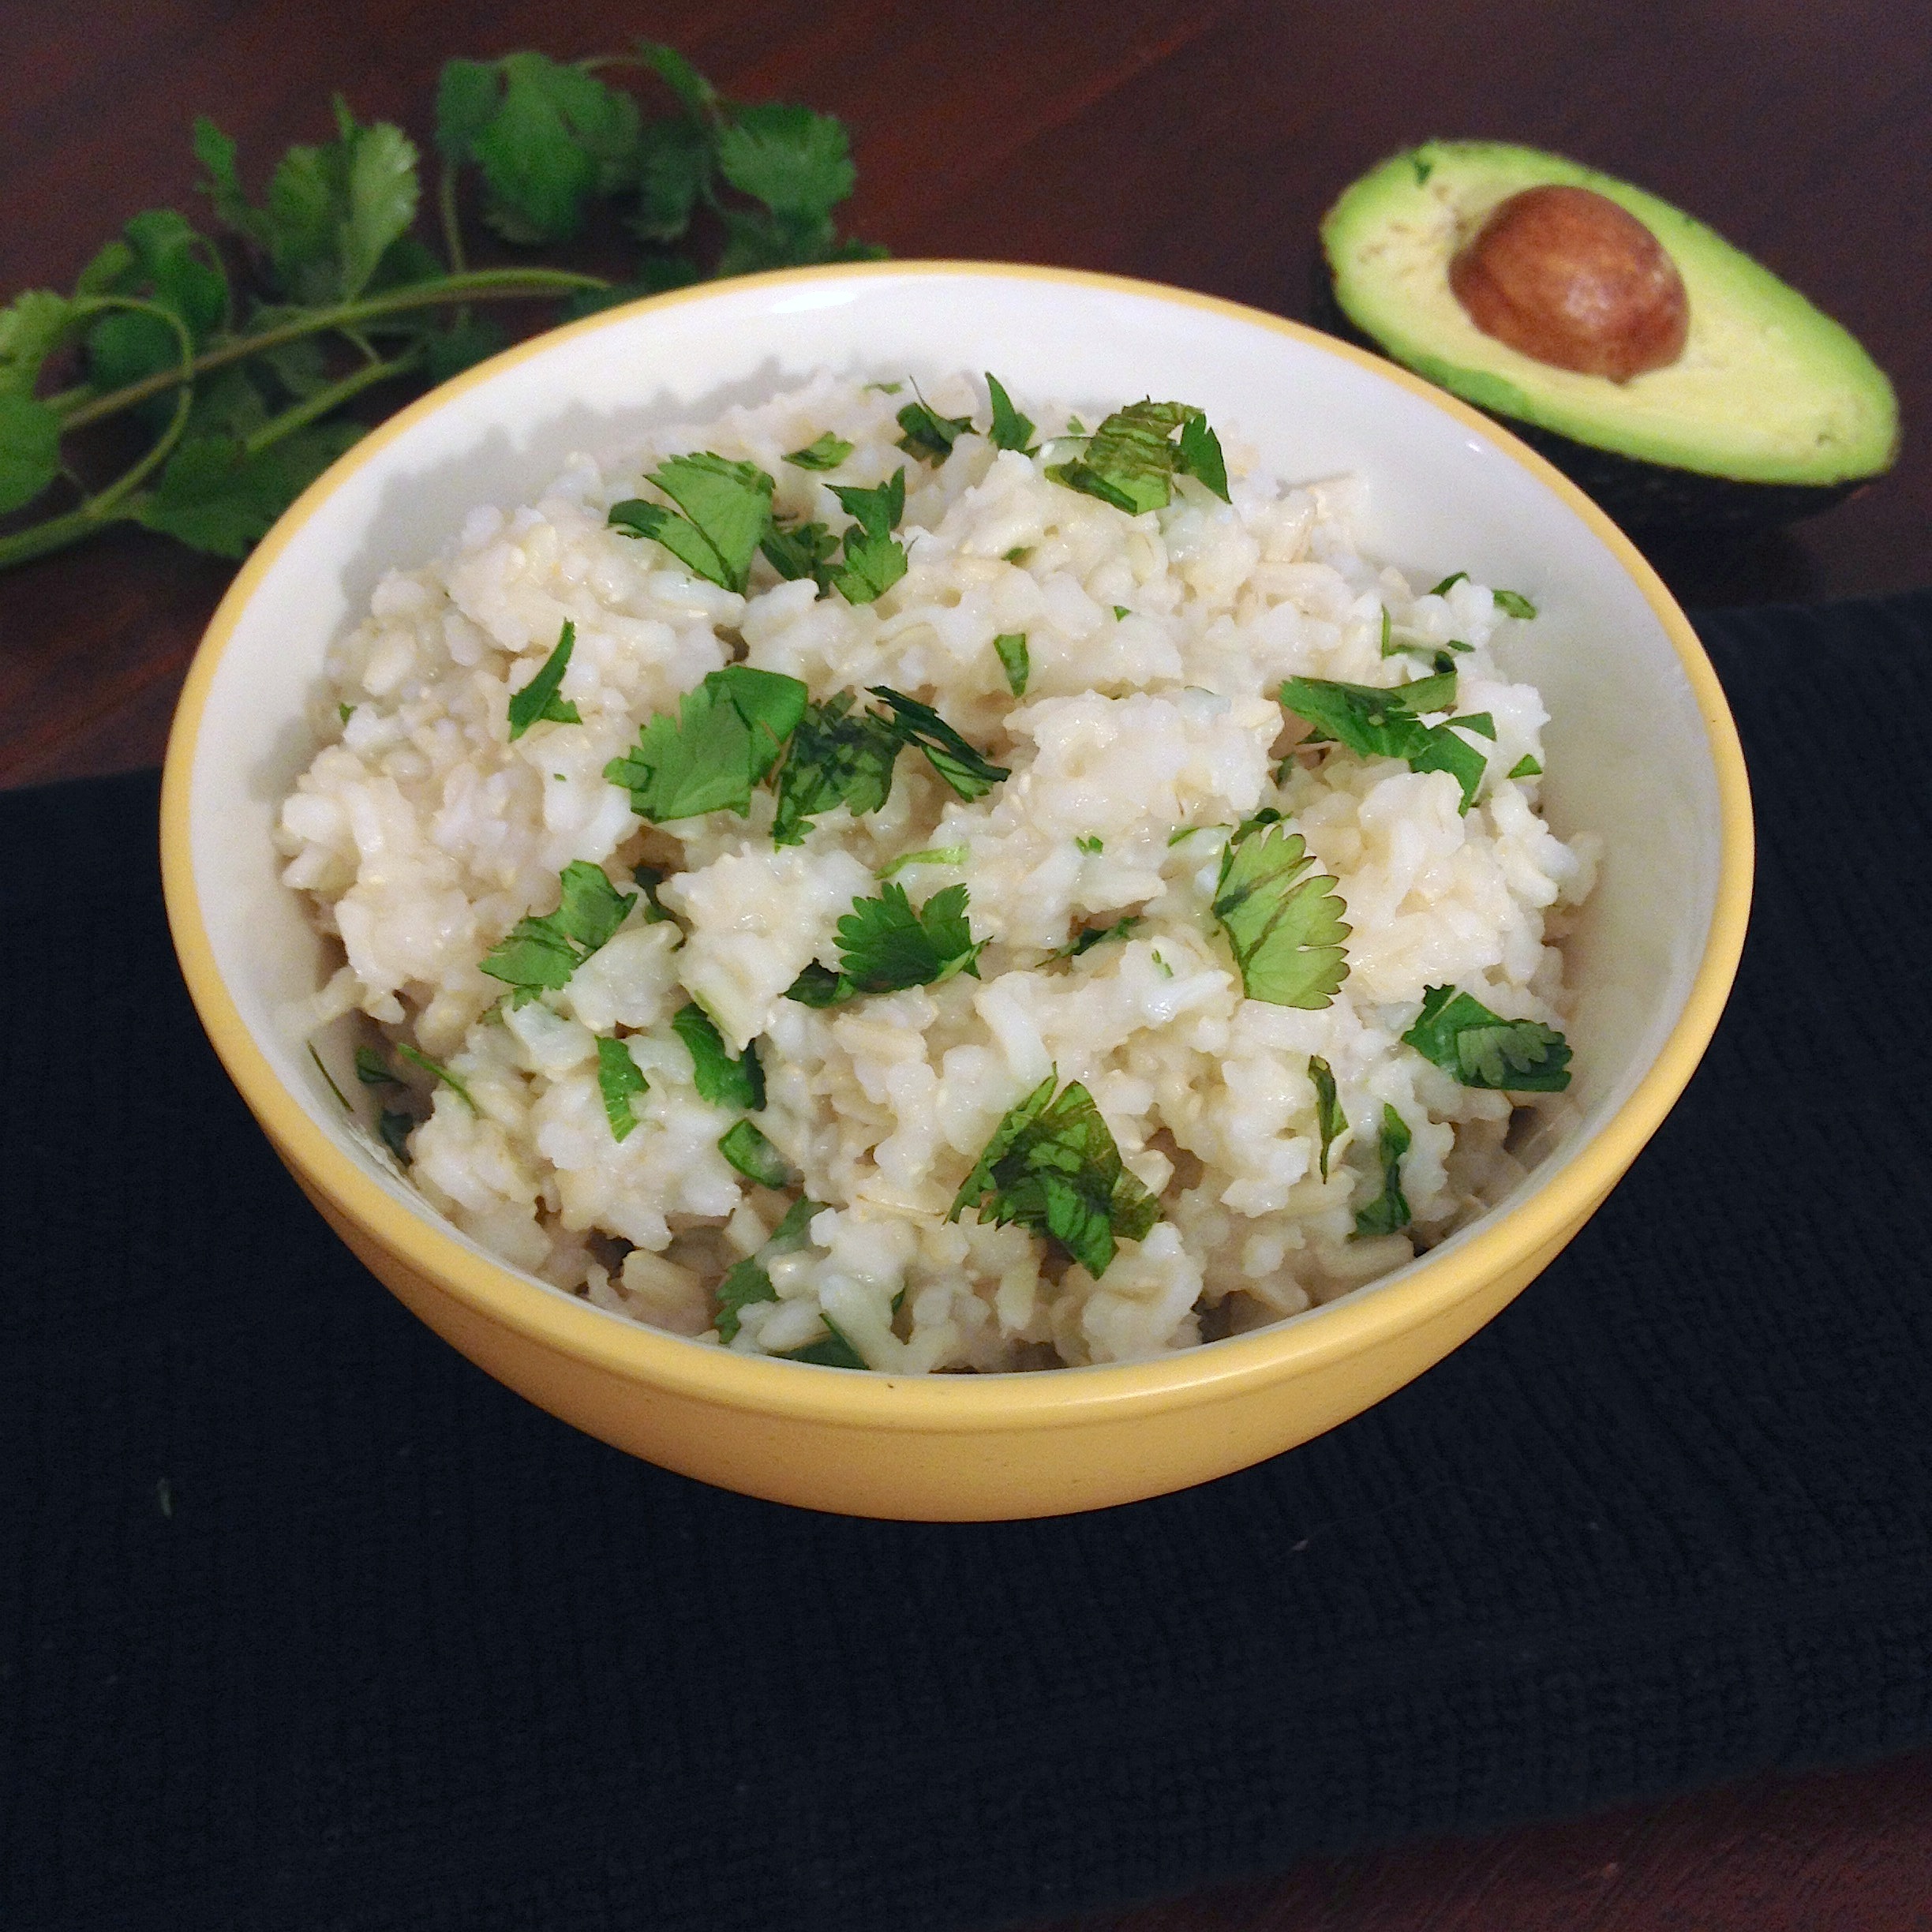
- Cilantro Lime Rice (shown in pictures)
This post is linked to Gluten Free Wednesdays hosted by Gluten Free Easily, Lynn’s Kitchen Adventures, and Gluten Free Homemaker. Check it out! Tons of recipes there!