Several months ago I started paying more attention to the labels on the canned goods I was buying. After hearing all sorts of bad things about ingredients like BPA and Carageenan I decided I needed to know more about what I was putting into my body.
Beans, which are generally considered a healthy food, had some shocking ingredients! I was amazed at the amount of added sugar and salt in just one can of beans. Maybe I was naive, but I’d always figured beans were just, well, beans. I was wrong!
Considering my options, I knew buying the organic, all natural, BPA free canned beans wasn’t an option for me. They are quite expensive and difficult to come by where I live.
So, I started investigating dry beans. They seemed to be cheap, and the only thing in the bag was beans. Every grocery store I shop at also has an ample selection of dried beans.
I started researching how to use dry beans in cooking and was shocked at how little information I found. In recipe ingredient lists beans are almost always measured by the can. I found a few recipes that referenced using your own cooked beans, but nothing much about actually cooking them. I tried following the package directions from a bag of black beans, but the beans were just too hard. I continued researching, picking up tidbits of information here and there, experimenting with different methods along the way, and finally came up with a consistent method for cooking beans. None of this is something special that I have come up with, rather, a compilation of information I have gleaned from many sources, all of which has been tested in my kitchen!
Aside from what I already mentioned (cost, food additives), I have not noticed a big difference in switching from canned to cooked beans. Beans that I have cooked seem to be a bit smaller than their canned counterparts. Many people talk about how amazing freshly cooked beans taste, compared to ones from a can. To be honest, I haven’t noticed a big difference, but I tend to add beans to dishes that already have a lot of flavor, like tacos and chili. If you are used to canned beans you may find home cooked beans need a bit of salt.
I’ve used this cooking method for a whole variety of beans with success. Cooking your own beans takes some planning, but the hands on effort is next to nothing. Much of the process happens while you sleep! After an initial soak there’s a cooking option for using the stove top or a slow cooker.

Open the bag of beans and sort them. What does sorting mean? Simply, take out anything that isn’t a bean. Occasionally you’ll find a small stone, a bean of a different variety, or just a misshapen bean. Just throw these away (or compost them). You will find beans that look a bit dirty but don’t discard these. Part of the cooking process involves rinsing, so you don’t need to worry about ingesting the dirt. As you sort the beans, place all the good beans in a large bowl that you have a lid for.
Step 2:Take the bowl of sort beans and fill it with water. You’ll need to add enough water to completely cover the beans, plus a few extra inches. Put the cover on the bowl of soaking beans and let it sit in the refrigerator overnight.
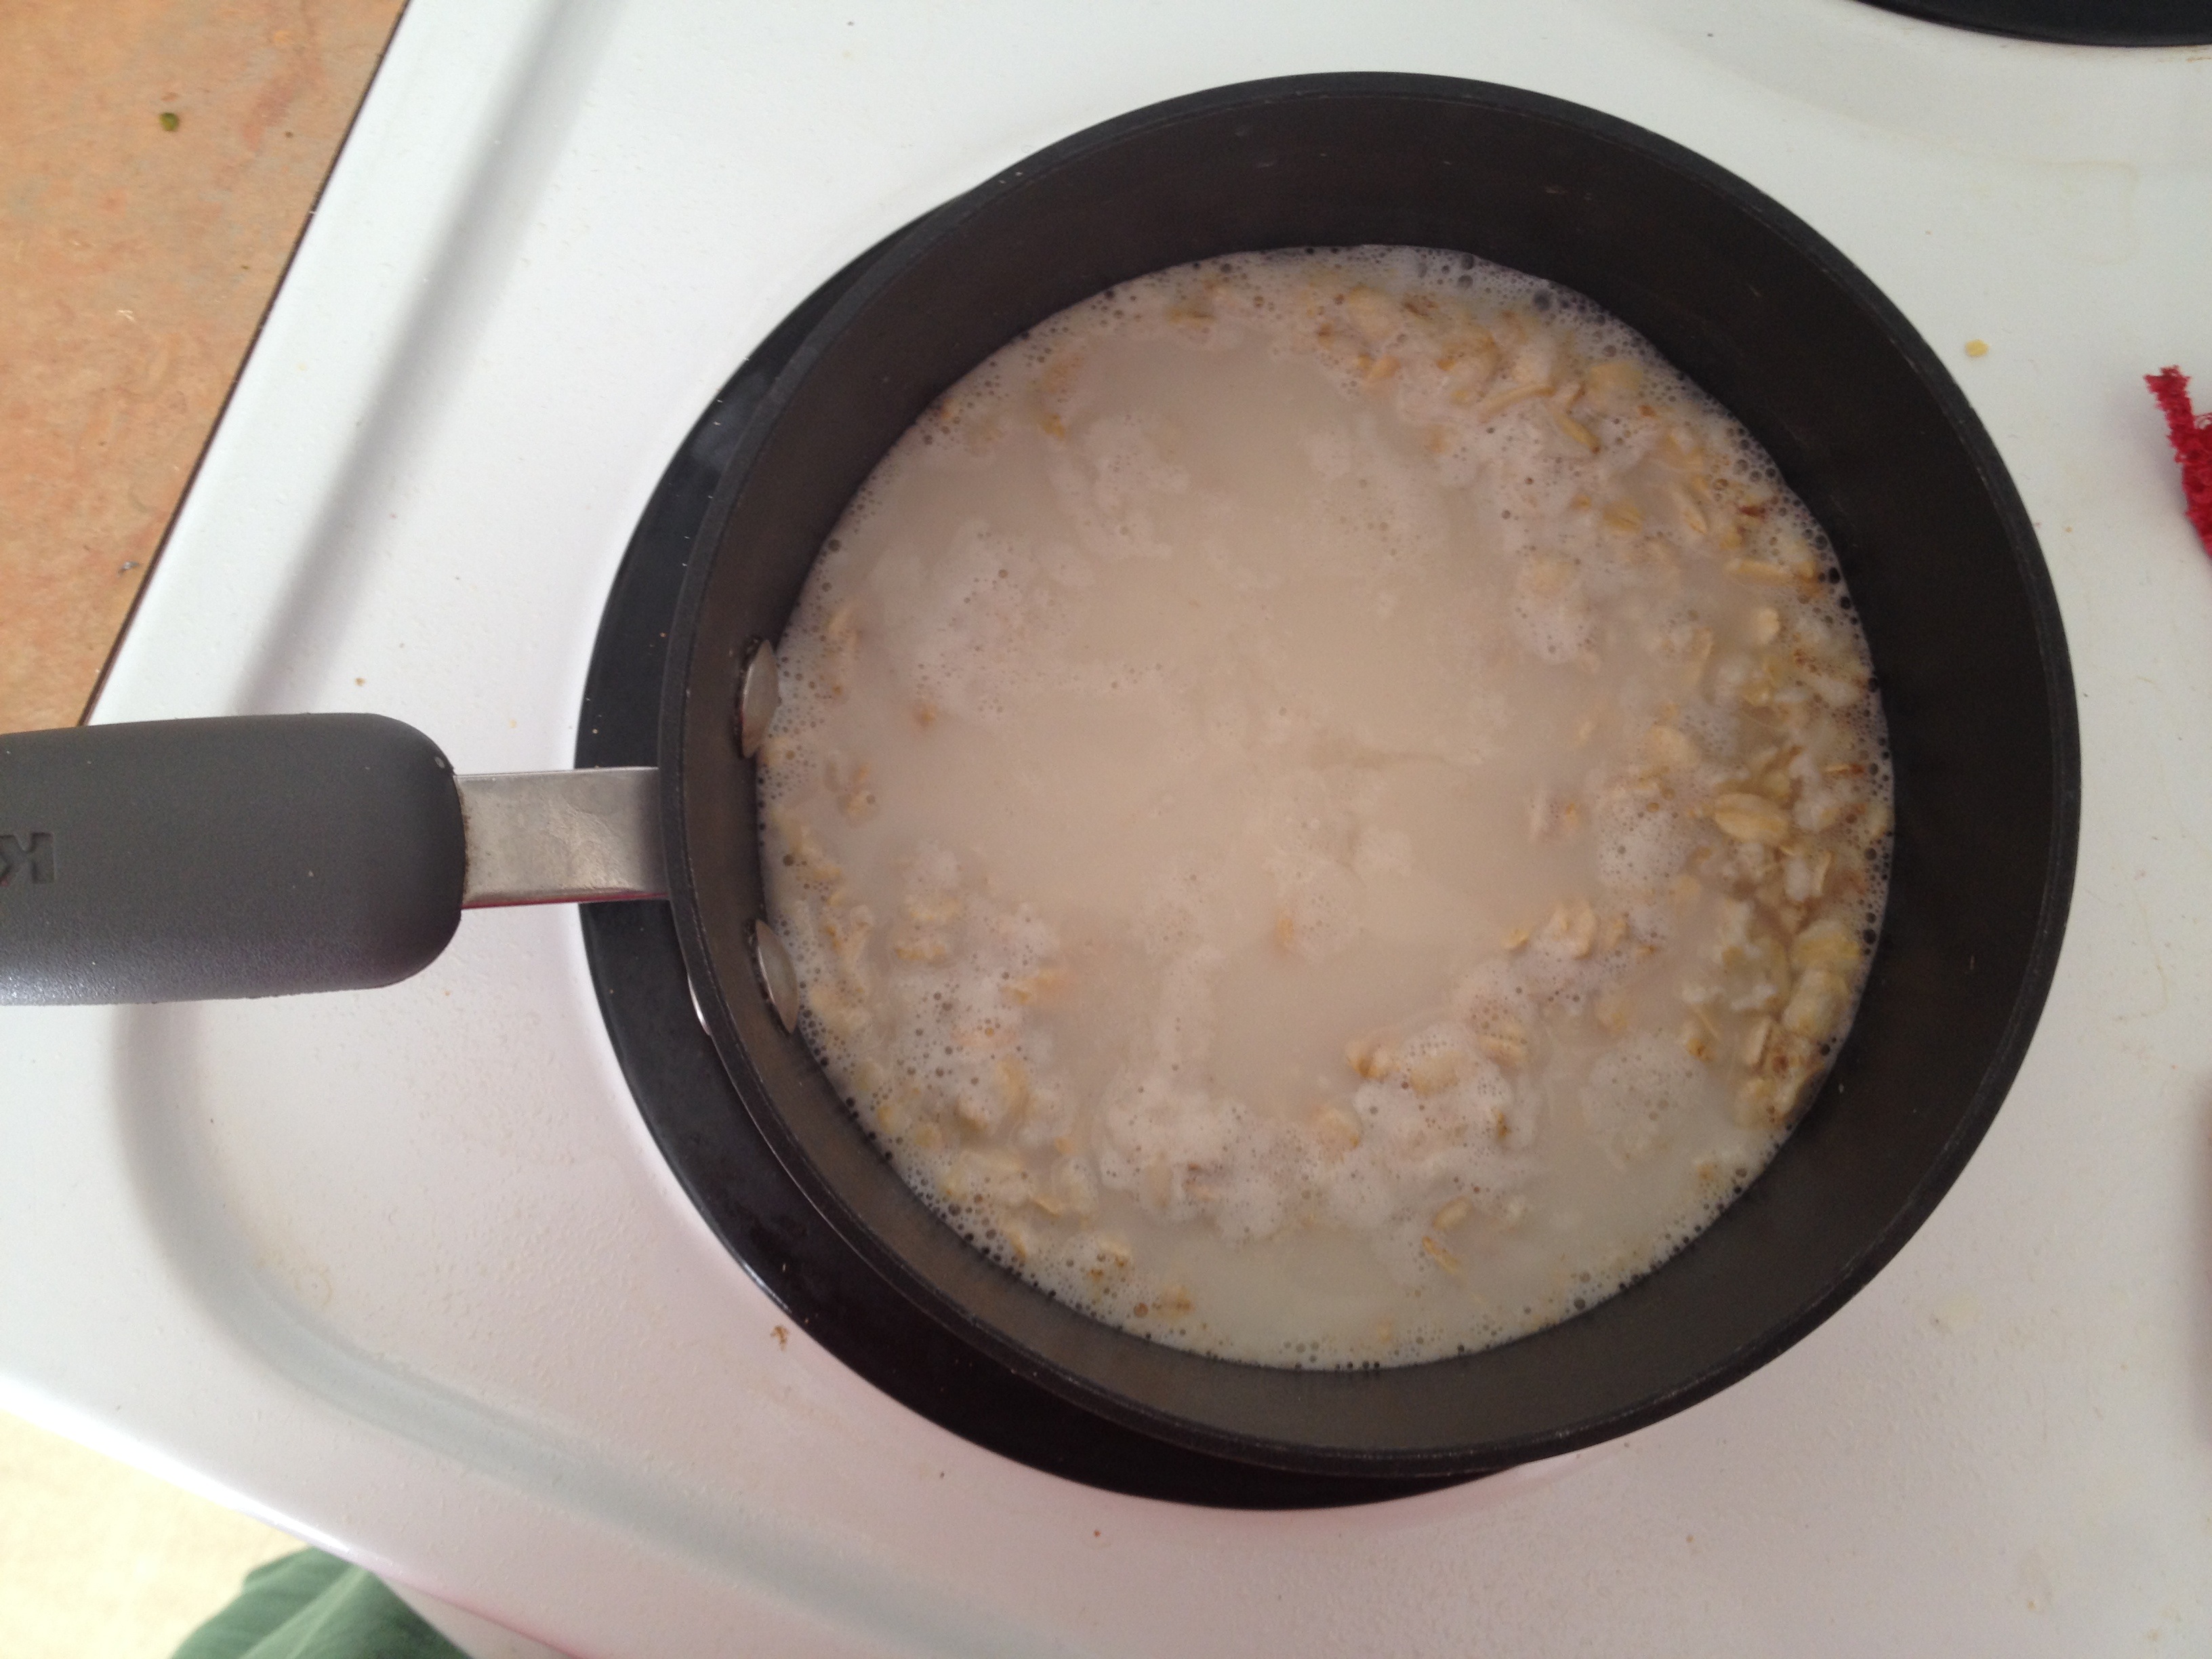
Step 3:After the beans have soaked overnight you’ll want to rinse them. Just dump the entire contents of the bowl into a large strainer. Run water over the beans until the liquid coming out of the bottom is clear.
Step 4: Stove Top OptionAdd the rinsed beans to a large pot and fill this with water. Similar to the soaking, you’ll need enough water to cover the beans plus a few extra inches on top of the beans. Bring the pot to a boil, and then reduce the heat so that it stays at a simmer. Watch during the cooking to make sure the water doesn’t run low. If you see beans sticking out above the water, just add more. You’ll probably notice some foam forming, you can use a spoon to scoop this out, if desired. Let cook until the beans are tender. I test by poking with a fork and seeing how easily it goes in, or with a taste test. Cook time is 1 to 2 hours, depending on the bean variety.
Step 4: Slow Cooker/Crock Pot OptionAdd the rinsed beans to a slow cooked and fill the slow cooker with water. Similar to the soaking, you’ll need enough water to cover the beans plus a few extra inches on top of the beans. Turn the crock pot to high heat. As the beans cook, watch to make sure the water doesn’t run low. If you see beans sticking out above the water, just add more. You’ll probably notice some foam forming, you can use a spoon to scoop this out, if desired. Let cook until the beans are tender. I test by poking with a fork and seeing how easily it goes in, or with a taste test. Cook time is 1 to 2 hours, depending on the bean variety.
Using/Storing Cooked BeansOnce your beans are cooked, you can use them as you would any canned beans! Use about 2 cups of your cooked beans in place of one 15 oz can of beans. Cooked beans that you aren’t going to use within a few days can be frozen.
I plan to write another post with more of the specifics about using canned beans in recipes. For the time being, this should be enough to get you started on the path to replacing you canned beans with home cooked beans. If you have any questions about how to do this, please leave me comment for me to answer, or shoot me an email, facebook message, etc.
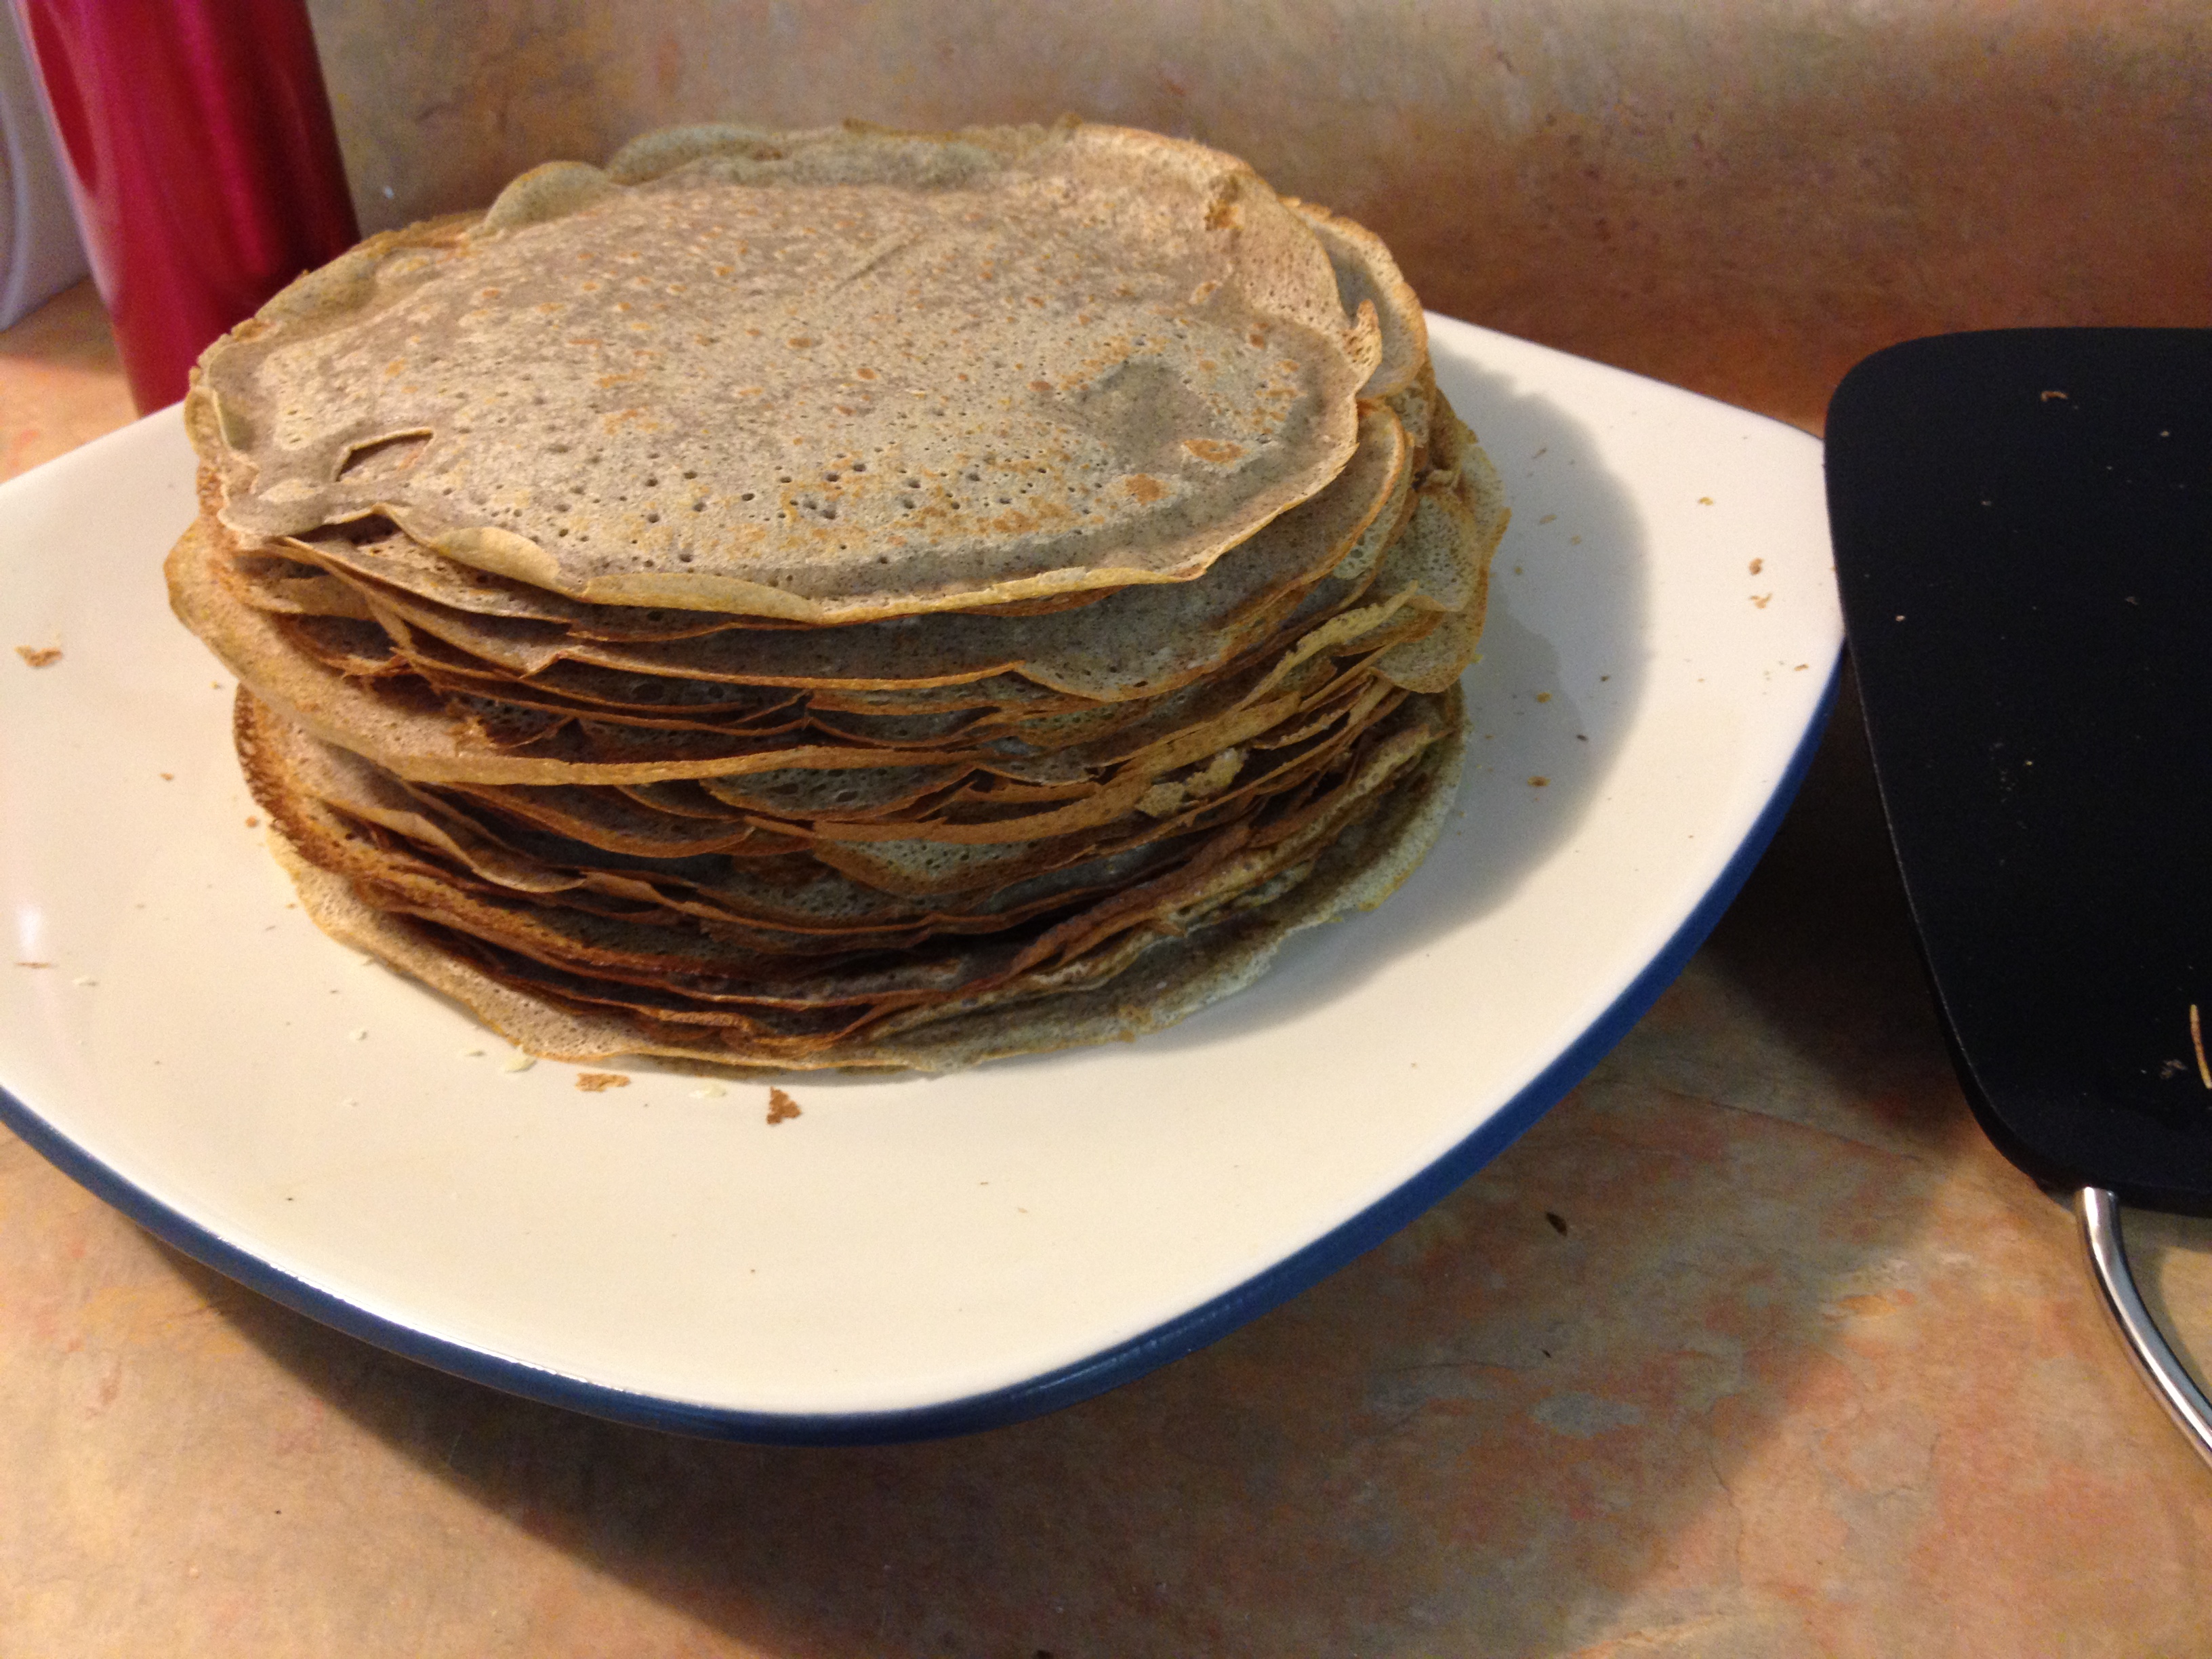
I hope you give this a try, and see for yourself how easy it is to cook your own beans at home! Keep an eye out next week for a new gluten free, vegetarian recipe you can use freshly cooked beans for!