RSS Feed

Review: Swoffle (Hint: This would be a great Valentine’s Day Treat)

Posted on

After a month of healthy dinner recipes it seems appropriate to bring a sweet treat to you today!

To be honest, I had no idea what Swoffle was until recently. I knew they would be good before trying them, though, after reading the description . . . “Two thin gluten free waffles wrapped around a delicious caramel filling”. Um, yes?

AMR_6550

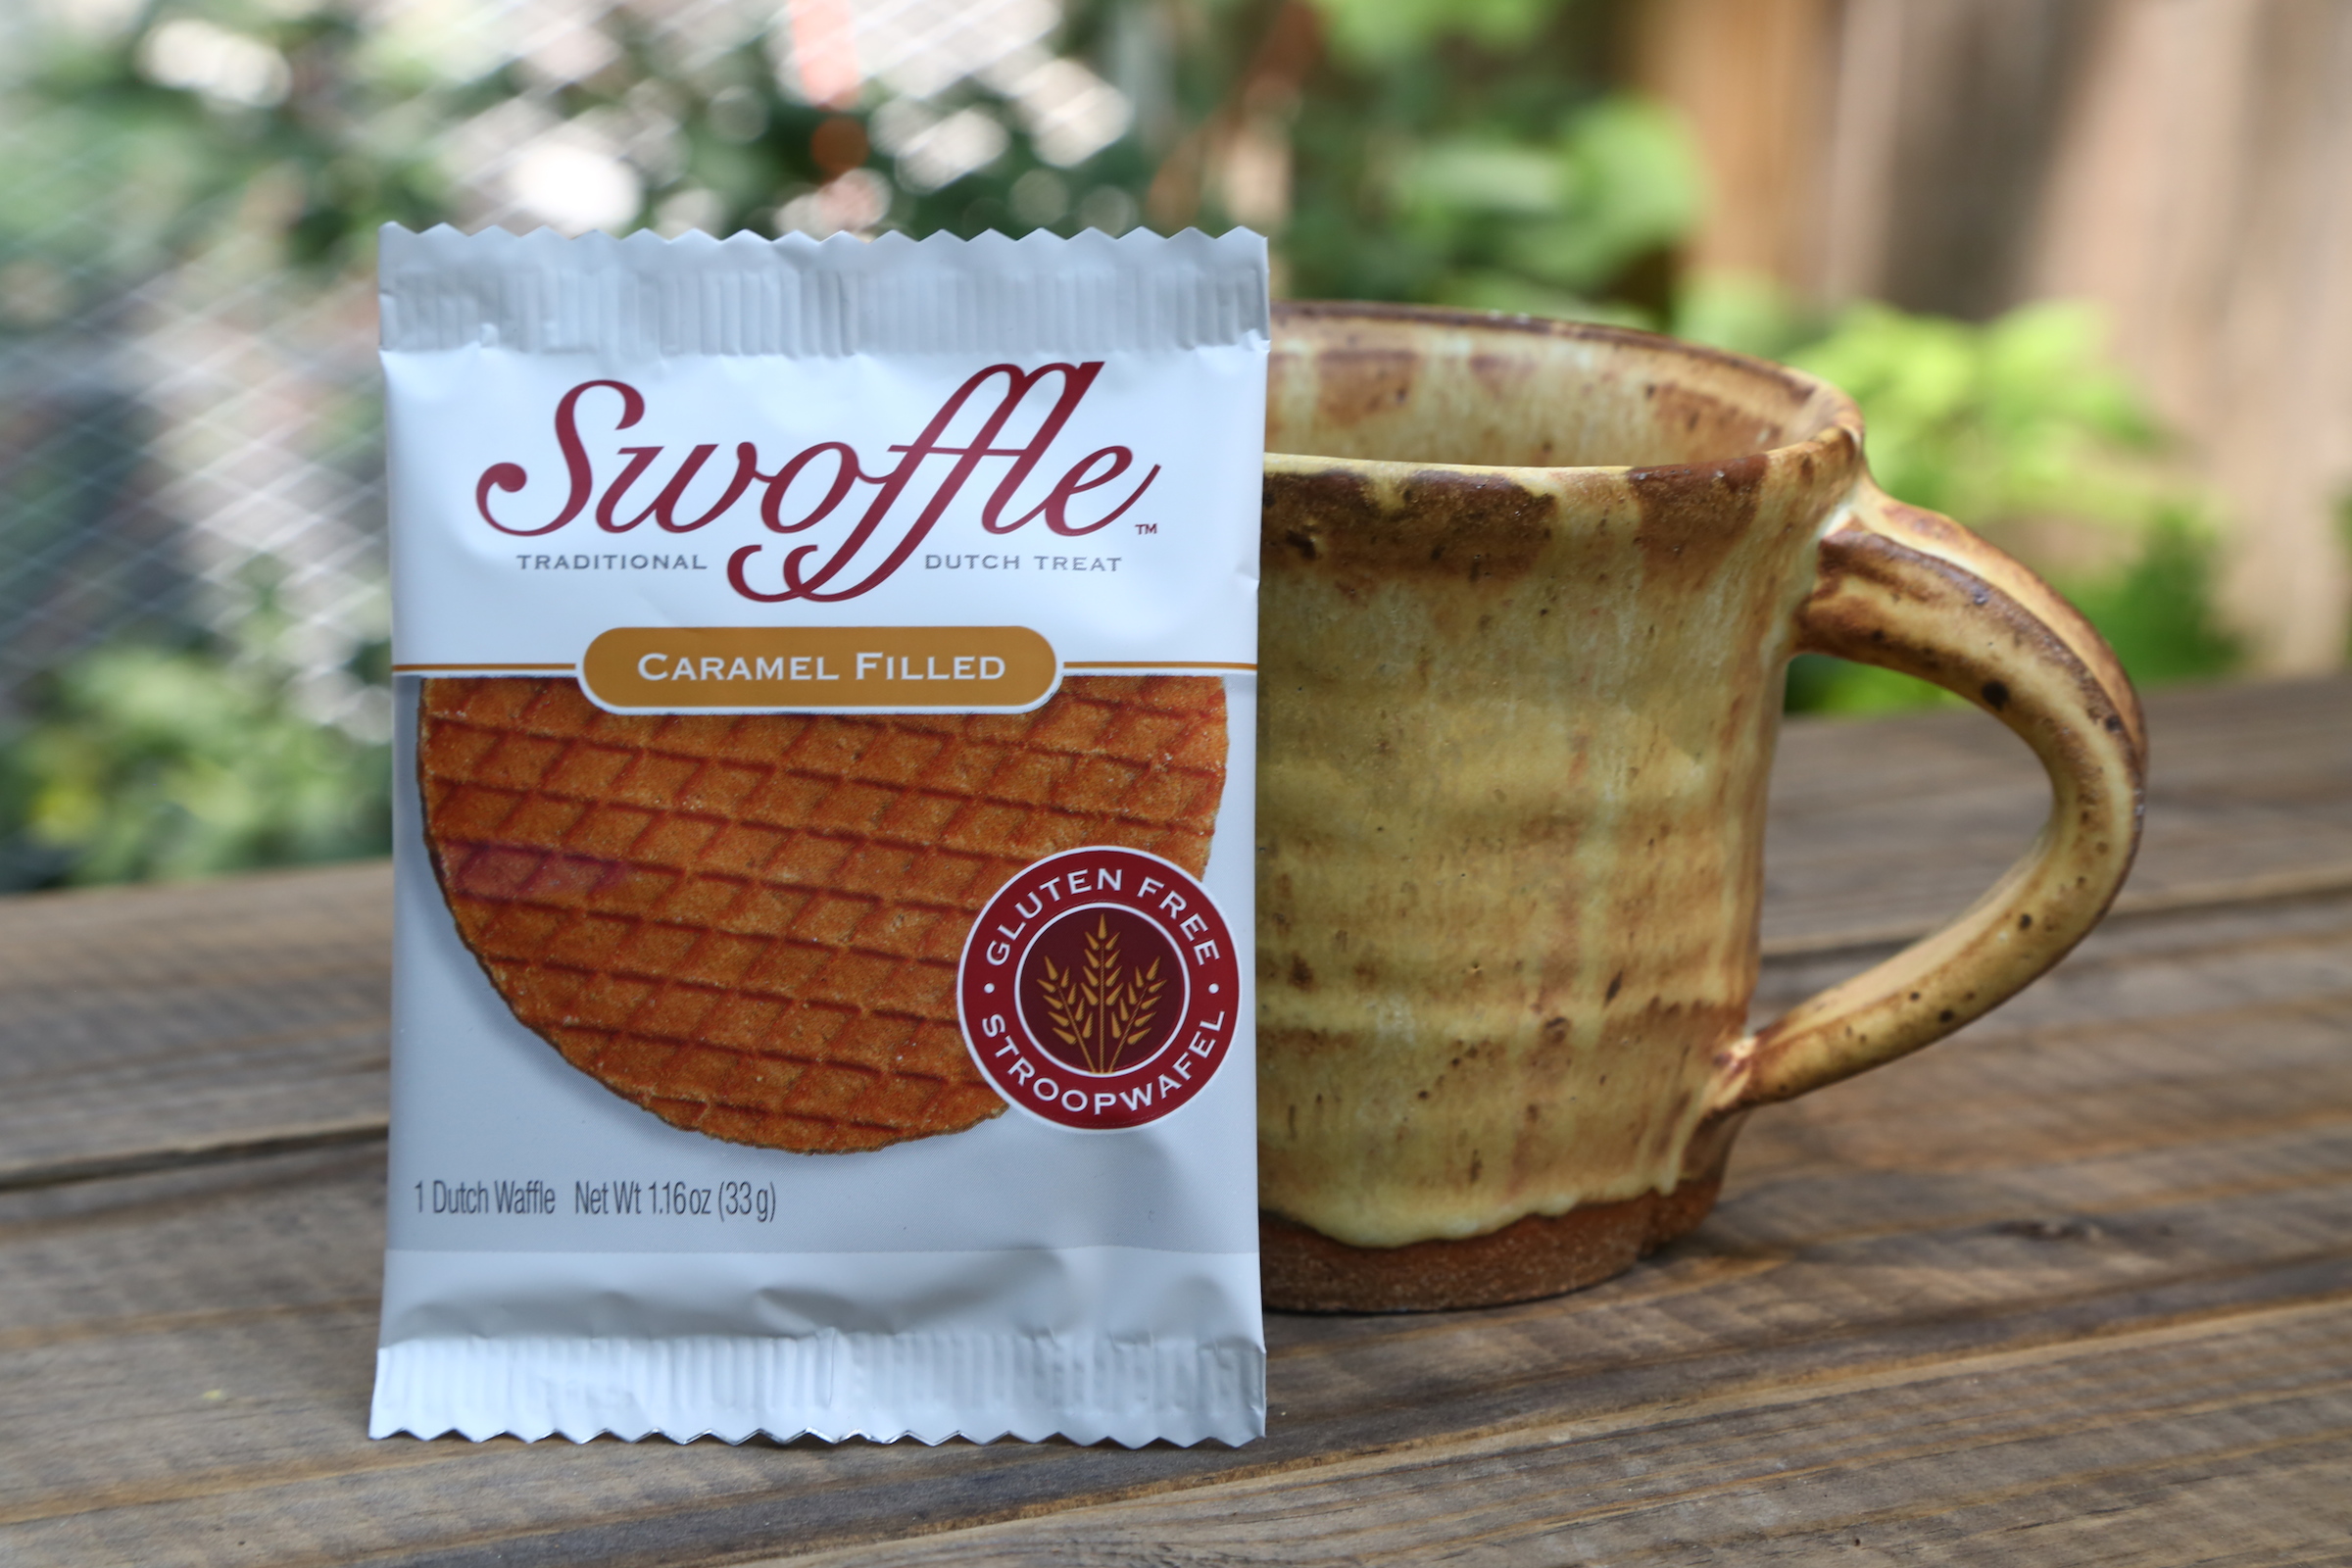
I learned that Swoffle is actually based off of a Dutch dessert, stroopwafels. These treats are traditionally served with a hot drink. When you rest the Swoffle over top of the warm cup the caramel inside melts a bit. I tried my Swoffle with hot chocolate. It fit perfectly on top of my mugs! I let the mug sit for about 10 minutes or so before tasting the Swoffle. The bottom of the Swoffle was a bit warm and moist and my hot chocolate was still steamy (yeah extra side benefit – I love my drinks steaming hot!).

Swoffle-1

The Swoffle was true to it’s description. As soon as I bit into the Swoffle the soft, melty caramel started slowly dripping out. The waffle parts and caramel part are both sweet so I think this dessert would be a better accompaniment to coffee or tea – at least for me. I don’t have a big sweet tooth so I was on a bit of a sugar high 🙂 There were no strange after tastes or weird textures, as happens with other gluten free baked goods, so go figure I ate the entire thing!

I think what I love most about Swoffle is that it feels so special and fancy. It’s easy to find a GF chocolate chip cookie or sandwich bread, but there are not many truly gourmet GF products out there.  I was so excited to eat something that was new, exciting, and special. I’m so glad that companies are bringing products like this to the marketplace.

IMG_1222

The folks from Swoffle said their products aren’t available in stores nationwide yet, but there are still ways to get your hands on some of these! You can purchase from Swoffle directly, and I found Swoffle on Amazon, too! Get your order in soon – I’m thinking this will be a great Valentine’s Day dessert!!

Sesame Chicken Skillet

Posted on

This recipe is the eighth in my month-long series of healthy, weeknight recipes from all around the web. This is stuff I make time and again, usually with some modifications, and still love! Check back (or follow this blog) to see all of the recipes I’ll be featuring this month!

IMG_4237

Let’s just pretend I didn’t take these pictures on the kitchen floor, at 8pm, in horrible lighting, okay?

After making a 20 minute meal for dinner tonight, and then looking at my less-than-ideal photographs of this Sesame Chicken, I’m reminded how important these quick, healthy dinners are in my life. I love cooking, so on the weekends I usually make more complex recipes, but my weeknights are filled with recipes similar to the ones I’ve been featuring this month. I don’t know what I would do without quick meals – takeout isn’t a great option for anyone eating GF, and most days it isn’t practical to spend an hour or so on dinner!

So, I love this Sesame Chicken from How Sweet It Is. It’s quick. It’s hands off. It’s doesn’t take a lot of effort or brain power to put together. Yay! It’s super delicious, too. I don’t think I’ve ever ordered sesame chicken at a restaurant, so I can’t say how this recipe compares in terms of flavor. But I think you’ll like it. I imagine it’s kid friendly, because it’s the kind of thing I would have liked when I was a kid and I was a super picky eater. So, go make this for your family and then enjoy eating it!

IMG_4244

Sesame Chicken Skillet

Recipe Source: How Sweet It Is (Thanks for the great recipe :))

Ingredients

  • 1 lb. boneless, skinless chicken breasts cut into bite sized pieces
  • 3 T gluten free flour (I’ve successfully used rice flour and the Bob’s Red Mill All Purpose GF flour)
  • 2 T sesame oil, divided
  • 1 t garlic powder (or use a couple cloves of fresh garlic)
  • 1 T Bragg’s Amino Acids (or GF soy sauce)
  • 1 t sugar/stevia blend
  • 1 T distilled white vinegar
  • 1/2 c chicken broth
  • 12 oz frozen green beans

Directions

  1. Preheat the oven to 400° F.
  2. Combine the garlic powder, Bragg’s Amino Acids, sugar/stevia, vinegar, chicken broth, and 1 T sesame oil in a small bowl. Set aside.
  3. Heat the remaining tablespoon of sesame oil in an oven proof skillet over medium high heat. While the oil and skillet are preheating add the chicken and GF flour together in a bowl and toss until the chicken pieces are coated in flour.
  4. When the skillet is warm add the flour coated chicken in one, single layer. Stir after 3 minutes, spread into a single layer again and let cook for another 3 minutes.
  5. Add the already mixed sauce to the skillet, stir gently, and then place the entire skillet in the oven to bake for 15 – 20 minutes, or until chicken is cooked through and reaches a temperature of 165° F.
  6. When the chicken is almost finished, defrost the green beans in the microwave according to package directions (I always get the steam in the bag kind – love it!)
  7. When the chicken is cooked through remove from the oven and stir in the green beans. Sprinkle with the sesame seeds.

Serve this with

  • White or brown rice, or quinoa
  • 2 T sesame seeds

Chipotle Butternut Squash Chili

Posted on

This recipe is the seventh in my month-long series of healthy, weeknight recipes from all around the web. This is stuff I make time and again, usually with some modifications, and still love! Check back (or follow this blog) to see all of the recipes I’ll be featuring this month!

Chilpotle-Butternut-Squash-Chili-Front

This is one of my more recent “favorite recipe” discoveries. I love squash and chili, so even though this is a meatless (and vegan) recipe I knew I wanted to try it when I spotted it. I think Steve and I were both a little bit nervous, as I added non-meat ingredients to the pot, that it wouldn’t satisfy us. The chili smelled SO good while it was simmer on the stove, and once I tasted it I was not disappointed.

This chili works so well because there is good flavor and lots of textures, just like any other great chili. There’s a good amount of chopping and dicing involved, but then everything just simmers on the stove for a while. I think of squash as something that takes a long time to cook, but in this case it really doesn’t take more than 30 minutes or so. A super flavorful chili in under an hour? Sounds good to me!

This recipe is from Cookie + Kate and I’ve hardly modified it (and I, somehow, tend to modify even the best recipes, so this is really saying something!). I’ve changed very little about the flavors, mostly just the ratios of different ingredients. Red peppers are crazy expensive here, and I can never find a squash as small as the recipe calls for, so I add more squash and less red pepper. I tend to increase the amount of onion, too, because we just love onions. Don’t skip the crispy tortilla strips!!! I typically cut up 2 tortillas, when the chili is almost done, spray with olive oil, sprinkle with salt, and put them in the toaster oven until crispy. It really adds a nice dynamic to the taste of the whole bowl of chili.

Chipotle-Butternut-Squash-Chili-Gluten-Free-Vegan-Vegetarian

Chipotle Butternut Squash Chili

Recipe Source: Cookie + Kate

Ingredients

  • 1 red onion, diced
  • 1 red bell pepper, diced
  • 1 butternut squash (in the 2 lb. range), peeled and diced
  • 4 cloves garlic, minced (I’ve also subbed in about 2 t garlic powder)
  • 2 T olive oil
  • 1 T chili powder
  • 1 t cumin
  • 1/2 chipotle pepper in adobo, minced (add more or less to taste)
  • 14 oz can petite diced tomatoes (liquid included)
  • 3 c cooked black beans (or 2 cans)
  • 14 oz vegetable broth (my preference is 2 c water + 2 tsp better than bouillon)
  • 2 corn tortillas
  • 1 avocado, diced

Directions

  1. Heat the olive oil over medium heat in a large pot (dutch oven, stock pot, etc.).
  2. When the oil is warm add the diced veggies: red onion, red bell pepper, butternut squash, garlic. Cook, stirring every minute or two, just until the onions start to soften.
  3. Add the cumin, chipotle pepper, tomatoes, black beans, and broth. Stir well. Bring to a boil, then reduce to medium low heat (basically, a simmer) and cover. The chili is done when the butternut squash is soft and tender.
  4. As the chili is nearing being done, make the tortilla strips. Spray each tortilla with olive oil spray and spinkle with salt. Cut into strips. Bake at 350° F for about 12 minutes, or until crispy and golden brown (I use my toasted oven for this).
  5. Serve chili with the tortilla strips and the diced avocado.

Lemon Garlic Chicken and Zucchini Noodles

Posted on

This recipe is the sixth in my month-long series of healthy, weeknight recipes from all around the web. This is stuff I make time and again, usually with some modifications, and still love! Check back (or follow this blog) to see all of the recipes I’ll be featuring this month!

Zucchini-Noodles-with-Lemon-Garlic-Chicken-Spinach-GF-healthy-dinner

This recipe is a concatenation of a few recipes from other food blogs. The ingredient inspiration comes from this Inspiralized dish and the flavors come from this chicken and rice recipe on MidEats. I love the combination of the two. The flavors are light and fresh – a perfect pairing for the veggies. I know it isn’t exactly (or even close to) zucchini season, but even in the winter I still enjoy cooking and eating this dinner.

If you are new to spiralizing and/or making zucchini noodles see my post here about making zucchini noodles. I go through a couple extra steps to get zucchini noodles with a great texture. It takes a little longer because you have to let the “noodles” sit and drain for a little while, but I promise the results are worth it. Plus, this is still a quick meal, even with the extra steps. You’re looking at about 30-40 minutes, with only about half of that time actually being active cooking.

In terms of healthfulness, it’s hard to beat this dinner! Lean chicken, protein packed spinach, and a few zucchinis. I top mine with a few feta cheese crumbles, but that hardly ruins a healthy meal. I can’t give any guarantees or promises that this is a kid friendly meal, but I can say that both adults in this household love eating this!

Zucchini-Noodles-with-Lemon-Garlic-Chicken-Spinach-Healthy-Gluten-Free-Weeknight-Dinner

Lemon Garlic Chicken and Zucchini Noodles

Ingredients

  • 3 zucchinis
  • 1 lb. boneless skinless chicken breast
  • 2 T + 2 t olive oil, divided
  • 3 T lemon juice (or juice from 1 lemon)
  • 3 garlic cloves, minced
  • 1 t dried oregano
  • 1 t cumin
  • 4 large hand fulls spinach
  • feta cheese for topping, optional

Directions

  1. Spiralize each of the zucchinis. Place the zucchini noodles in a stainer in the sink. Sprinkle with salt. Let sit for about 30 minutes.
  2. While the zucchini is soaking, cut the chicken into bite sized pieces. Add 2 T olive oil, lemon juice, garlic, oregano, and cumin. Stir to coat chicken. Put in the refrigerator to marinate for 15 minutes (up to overnight).
  3. After at least 15 minutes, heat a large skillet over medium high heat. Add the chicken + marinade to the skillet. Cook, stirring every few minutes, until the chicken is done and all the juices are absorbed, about 10 minutes. While the chicken is cooking use a thin towel or cheesecloth to wring out the excess liquid from the zucchini noodles (more detail on this step can be found in this post).
  4. Remove the chicken from the skillet to a plate. Add the remaining 2 t of olive oil to the skillet.Give the oil a minute or two to warm, then add the zucchini noodles to the skillet. Stir constantly for about 2 minutes, to let the noodles heat up.
  5. Add the chicken and the spinach to the skillet. Keep on the heat just long enough for the spinach to wilt.
  6. Top with feta cheese crumbles before serving, if desired.

Serve this with

  • NOTE: This skillet can be a stand alone meal. As is, the recipe is grain free and paleo. Personally, I feel lousy without whole grains in my diet, so I usually include a quinoa side dish with this meal. Feel free to serve the skillet on it’s own if that works for you!
  • Quinoa Pilaf
  • Lemon Risotto
  • Coming soon . . . quinoa patties.

Szechuan Turkey and Green Beans

Posted on

This recipe is the fifth in my month-long series of healthy, weeknight recipes from all around the web. This is stuff I make time and again, usually with some modifications, and still love! Check back (or follow this blog) to see all of the recipes I’ll be featuring this month!

IMG_4270

This recipe has been in my favorites list for quite a while now. I found it on The Lemon Bowl, and only had to make a few tiny changes to make it gluten free. What initially won me over was the flavor. It’s reminiscent of a stir fry and has the option to be spicy or mild. When I realized how quick this dinner was to prepare – 20 minutes from start to table – it became one of my busy night staples.

Of course, everything I make over and over needs to be nutritious, and this dinner definitely is that, too! I always use lean, organic ground turkey. The sauce is so, so tasty and it doesn’t use any sugar or oil. The turkey is cooked with a whole pound of green beans and a can of water chestnuts, so you are getting a good serving of vegetables, too. Just serve with some brown rice or quinoa and your meal is complete!

IMG_4282

Szechuan Turkey and Green Beans

Recipe Source: The Lemon Bowl

Ingredients:

  • 1 lb. lean ground turkey (I get the 95%-98% lean when it is on sale and store it in the freezer until I’m ready to use it)
  • 2 T ginger, minced
  • 1/2 c chicken broth
  • 1 T corn starch
  • 1/4 c Bragg’s Amino Acids (may substitute with gluten free soy sauce)
  • 2 T rice vinegar
  • 1 T chili garlic paste (This is what I use – please start with less if you are not a fan of spicy foods, and increase if needed).
  • 1 lb. green beans (I’ve successfully used fresh and frozen)
  • 8 oz. can water chestnuts, drained

Cooking Directions:

  1. Heat a large, nonstick skillet over medium high heat.
  2. Add the turkey and minced ginger. As the turkey cooks, using a fork/spatula/spoon/ to bread up the turkey into small bits. Once it is cooked through let the turkey brown for a minute in the pan.
  3. While the turkey is cooking, combine the chicken broth, corn starch, Amino Acids, rice vinegar, and chili garlic paste in a small bowl. Set aside.
  4. Add the green bean and sauce mixture to the cooked and browned ground turkey. Stir to combine and reduce the heat to medium.
  5. While the turkey/green beans/sauce is cooking roughly chop the water chestnuts.
  6. When the green beans are tender add the water chestnuts to the pan and stir once more to combine.
  7. Serve with brown rice or quinoa.


Spicy Lime Foil Packet Tilapia

Posted on

This recipe is the fourth in my month-long series of healthy, weeknight recipes from all around the web. This is stuff I make time and again, usually with some modifications, and still love! Check back (or follow this blog) to see all of the recipes I’ll be featuring this month!

There are so many reasons why this recipe is one of my healthy weeknight favorites. I gotta say, the absolute best part of this recipe is that you won’t dirty any pots of pans making it! Fish + veggies cooked in individual foil packets that are baked right on the rack in the oven. I only use four items total to make this: a knife, cutting board, small prep bowl, and a spoon. Just rinse and throw in the dishwasher. Talk about easy clean up!

Spicy-Lime-Tilapia-Foil-Packet-Dinners

Let’s talk about the food, too, instead of just the prep and clean up. These foil packets are loaded with moist, flakey fish and tons of green veggies. A bit of chili-infused oil and lime juice is spooned over the fish to flavor it. The packets are really easy to put together too. You just stack the asparagus and spinach, top with fish and a few ingredients for flavoring, and then fold up. Serve with a whole grain (see links to a few ideas below) for a a complete, 100% healthy meal that’s ready in under 30 minutes!

Foil-Packet-Spicy-Lime-Salmon-Healthy-Gluten-Free-Dinner

Spicy Lime Foil Packet Tilapia

Many of the ingredients here can be approximated. This is not one of those recipes where everything needs to be measured out perfectly for it to work. If you have a bit less asparagus, prefer more red pepper flakes, etc, the recipe will turn out fine!

Original Recipe Source: Women’s Health

Ingredients

  • 1 1/2 T olive oil
  • 3/4 t red pepper flakes
  • 2 c  spinach (approximately), divided (1/2 c per packet)
  • 20 asparagus spears (approximately)
  • 4 tilapia fillets
  • 5 green onions, sliced
  • 8 t lime juice, divided (2 tsp per packet)

Directions

  1. Preheat the oven to 450° F.
  2. Tear off 4 large sections of aluminum foil (I use foil sections that are about twice as long as they are wide. Better to tear off a bit extra foil than to end up with too little).
  3. Cut the asparagus into 2 inch pieces and lay an equal amount in a rectangle in each of the 4 packets.
  4. Top with the spinach, and then a tilapia fillet.
  5. In a small bowl, combine the olive oil and red pepper flakes. Microwave for 30 seconds (this infuses the oil). Spoon 1/4 of the oil over each tilapia filet.
  6. Drizzle 2 t of lime juice over each packet.
  7. Sprinkle with green onions.
  8. Roll up the edges of each packet and press securely.
  9. Bake for about 15 minutes, or until the tilapia is white and flaky.

Serve this with:

Spaghetti Squash with Avocado and Asiago

Posted on
 This recipe is the third in my month-long series of healthy, weeknight recipes from all around the web. This is stuff I make time and again, usually with some modifications, and still love! Check back (or follow this blog) to see all of the recipes I’ll be featuring this month!

Spaghetti Squash is quite possibly my favorite food, and this recipe is my current food obsession.

Spaghetti-Squash-With-Avocado-Asiago-Healthy-Gluten-Free-Dinner

I already have a some favorite spaghetti squash recipes (Buffalo Chicken Spaghetti Squash, Pizza Spaghetti Squash, Spicy Sriracha and Turkey Spaghetti Squash) but I still found myself googling “spaghetti squash recipes” a couple of months ago. You can never have too much of your favorite food, right?!

I was intrigued – this recipe, from The Kitchn – looked so, so simple and had raving reviews. I had to try it. And I did. And we loved it. Even the leftovers for lunch the next day, with slightly browning avocado. Still loved it.

Spaghetti-Squash-With-Avocado-Asiago-Healthy-Dinner-Side-Dish

Of course, I made some modifications to the recipe, mostly by accident (I figured I had the gist of the recipe, and didn’t actually look at it when I was cooking. Ended up missing a few ingredients – opps!). We tried topping this with freshly grated asiago and freshly grated parmesan and the asiago was just slightly better. I found the cheese was salty enough, so I don’t add any salt or pepper to the recipe.

Squash is filling, so this makes a great vegetarian dinner. You can also serve this as a side to meat or fish (serve “Serve this with” section below recipe).

Spaghetti-Squash-Avocado-Asiago-Healthy-Weeknight-Dinner

Spaghetti Squash with Avocado and Asiago

Ingredients

  • 1 large spaghetti squash (mine are usually in the 4 lb. range)
  • 2 Tbs olive oil
  • 4 garlic cloves, minced
  • 1 avocado, cut into cubes
  • 1/4 c freshly grated asiago cheese, for topping (parmesan also works)

Cooking Directions

  1. Preheat the oven to 374° F.
  2. While the oven is preheating but the spaghetti squash in half and place it face down on a baking sheet.
  3. Bake the squash for 30 – 45 minutes. You don’t want to overcook the squash so start checking every 5 minutes or so once it reaches the 30 min mark. You want the cooked squash to separate in strands but still be fairly firm. It should not be at all mushy.
  4. Towards the end of the baking time for the squash heat the olive oil over medium heat in a small skillet.
  5. Add the minced garlic when the oil is warm. Cook, stirring constantly to prevent burning, until you see a couple pieces of garlic just start to turn tan in color. Remove from heat.
  6. When the squash is done and has cooled down for a few minutes use a fork to scrape the strands out of the shell. Put the spaghetti squash in a bowl and stir in the garlic olive oil.
  7. Serve with the asiago cheese and avocado.

Recipe Inspiration: The Kitchn

Serve This With:


Dilled Chicken and Asparagus

Posted on

This recipe is the second in my month-long series of healthy, weeknight recipes from all around the web. This is stuff I make time and again, usually with some modifications, and still love! Check back (or follow this blog) to see all of the recipes I’ll be featuring this month!

I found this recipe on Taste of Home about a year ago, and I’m so happy that I did! Originally a recipe to feed two people I thought it would be a great dinner for Steve and I. Of course, we ate the entire skillet-full because it was so good.

Dilled-Chicken-And-Asparagus-Gluten-Free-Healthy-30-Minute-Dinner

Yes, this is an (almost) one pan meal. You cook the rice on it’s own, and add it to the skillet with the chicken and asparagus once it’s cooked. So, you will dirty two pans, yes. But, you don’t need to be attending to both at once since the rice just simmers covered. Of course, this would be even easier with a rice cooker!

My first modification to this recipe was to increase the amount of asparagus. In my mind a few spears apiece just wasn’t enough vegetable content for a full meal. I switch up whether I use brown rice or white rice, but I always use Better Than Bouillon instead of a bouillon cube. Those have so much salt!

I love that there is nothing fake or artificial in the sauce, but it still provides so much flavor. Chicken + Asparagus + Rice sounds a bit cliche and boring, and like it has the potential for that healthy-food-cardboard taste. The sauce and bouillon do away with any potential bland-ness.

Dilled-Chicken-And-Asparagus-Gluten-Free-Healthy-30-Minute-Dinner-2

Best of all though, this dinner will be ready, start to finish, in 30 minutes. That’s why it is one of my top favorites for healthy weeknight dinners. Enjoy!

Dilled-Chicken-And-Asparagus-Healthy-Gluten-Free-30-Minute-Meal-3

Dilled Chicken and Asparagus

Recipe source: Taste of House. This version serves 4.

Ingredients

  • 1 c rice (use white rice to have this ready within 30 minutes. If you use brown, plan for extra cooking time).
  • 2 c water
  • 2 t Better Than Bouillon Chicken Base (or other type of bouillon)
  • 4 t freshly minced parsley (dried works, too)
  • 2 T lemon juice
  • 1 T olive oil
  • 1 T dill weed
  • 2 t garlic powder
  • 1 bunch asparagus, cut into 2-3 inch pieces (amounts vary by the bunch, mine are between 8 and 12 oz).
  • 1 lb. boneless, skinless chicken breasts, cut into bite sized pieces

Cooking Direction

  1. Add the rice, water, and bouillon to a saucepan. Bring to a boil. Reduce heat, cover, and let simmer for about 15 minutes, or until the rice is done (longer for brown rice).
  2. In a small mixing bowl combine the parsley, lemon juice, olive oil, dill weed, and garlic powder.
  3. Fill a large-ish skillet with about an inch of water and bring to a boil. Once boiling, add the asparagus. Cover, and let cook for 2-3 minutes. Immediately drain the asparagus and set aside.
  4. In the same skillet, add the chicken and cook at a medium high heat until the chicken is cooked through, about 3 -5 minute per side (I usually cut a piece in half to see if it’s done. Pink inside? cook more. White and opaque? ready to eat!). Let the chicken sit in the pan for another couple of minutes, burner still on, to get the golden brown crisp on the outside.
  5. Add the asparagus, rice, and sauce mixture to the skillet and stir until sauce is evenly distributed.

Healthy Twice Baked Sweet Potatoes

Posted on

My first healthy favorite for January are these Healthy Twice Baked Sweet Potatoes. I promised quick, healthy, weeknight recipes and although this takes about an hour to cook I think you’ll find that it’s still a great choice. Most of the time is hands off baking time while the sweet potatoes are in the oven. Set a timer, walk away, and do something else!

Healthy-Twice-Baked-Sweet-Potatoes-Gluten-Free-Vegetarian-2

Don’t be fooled by the cheese topping, these sweet potatoes are still healthy! Just a tablespoon of mozzarella per sweet potato is a great way to add another flavor and saltiness without becoming overly indulgent.

This recipe is adapted from Pinch of Yum. It is naturally gluten free, as written. I’ve increased the recipe size to make more servings and swapped out a few ingredients for healthier counterparts that I always have on hand.

My favorite part about this recipe is how filling it is! The sweet potatoes are so tasty, yet I’m usually stuffed after eating just two. The leftovers are so great warmed up in the toaster oven for a few minutes, too!

Healthy-Twice-Baked-Sweet-Potatoes-Gluten-Free-Vegetarian

Healthy Twice Baked Sweet Potatoes

Sweet Potatoes vary greatly in size, so consider all the measurements in this recipe approximate. If you feel the ratio isn’t going to be quite right adjust as necessary. As long as you don’t change the baking times, you should end up with a good result!

This recipe is adapted from Pinch of Yum’s Healthy Sweet Potato Skins. Thanks for the great recipe inspiration!!! 🙂

Ingredients

  • 5 sweet potatoes
  • 1 tbs olive oil
  • 2 shallots, minced (you can also use 1 small onion)
  • 10 oz spinach, roughly chopped
  • 1/2 c plain greek yogurt
  • 1 can chickpeas, rinsed and drained
  • 1/2 c mozzarella cheese, divided

Cooking Directions

  1. Preheat the oven to 350° F.
  2. Wash the sweet potatoes and poke each potato several times with a fork. Bake the potatoes for about 1 hour, or until they are soft and tender.
  3. Towards the end of the baking time cut the shallots and spinach.
  4. Heat the olive oil in a skillet over medium heat.
  5. When the oil is hot add the shallots and cook for about 5 minutes, or until the shallots are fragrant and tender.
  6. Add the spinach and cook, stirring, until the spinach is wilted. Remove from heat.
  7. When the potatoes are done cut them in half. Scrape out the insides (put in a large bowl), leaving about a half inch around the skins to hold the shape of the potato.
  8. Mash the removed sweet potato, and add the greek yogurt. Stir in the shallot/spinach mixture and chickpeas.
  9. Fill each the empty potato skins with the sweet potato mixture. Sprinkle about a tablespoon of the mozzarella onto each potato skin.
  10. Bake for an additional 10 minutes, or until the cheese is melted.

Happy, Healthy New Year!

Posted on

Happy New Year, Everyone!

How did you celebrate the New Year? Do you have any resolutions?

I don’t usually make New Years Resolutions, but I do have a few goals I’ve been working on. Mainly, keeping the kitchen, living room, and my desk more tidy on a daily basis. Now that the holiday season is coming to an end we are both trying to get back on track with eating nutritional meals, too. After lots of cookies, snack food, and eating out while traveling it feels so good to get back to eating “real” food!

To celebrate healthy eating in the New Year I have a ton of new recipes lined up. For the month of January I’ll be featuring my favorite quick, healthy, and gluten free recipes from all over the web. These are tried and true recipes that I make over and over. All of the recipes are quick and easy meals that I make on weeknights. I’m super excited to share all these favorites with you!

Come back on Monday for the first of my healthy favorites! In the meantime, here a few quick and healthy weeknight dinners right on this site: